 |
| Pictures by Amy Armstrong |

 |
| Pictures by Chelsea Armstrong |


Here's how to make the skirts:
1) You will need two measurements. A waist measurement and a finished skirt measurement.
2) Cut four pieces of fabric (I used three different fabrics for each skirt).
Length: 1 3/4 - 2 times the waist measurement plus 1 inch (obviously the longer you make it the fuller the skirt will be.
Width: The finished length divided by 3 plus 1 inch.
*Note: All 4 pieces will be the same size

3) Fold the band fabrics in half with right sides together and them insert the top part of the skirt in between. You will be stitching three edges together.

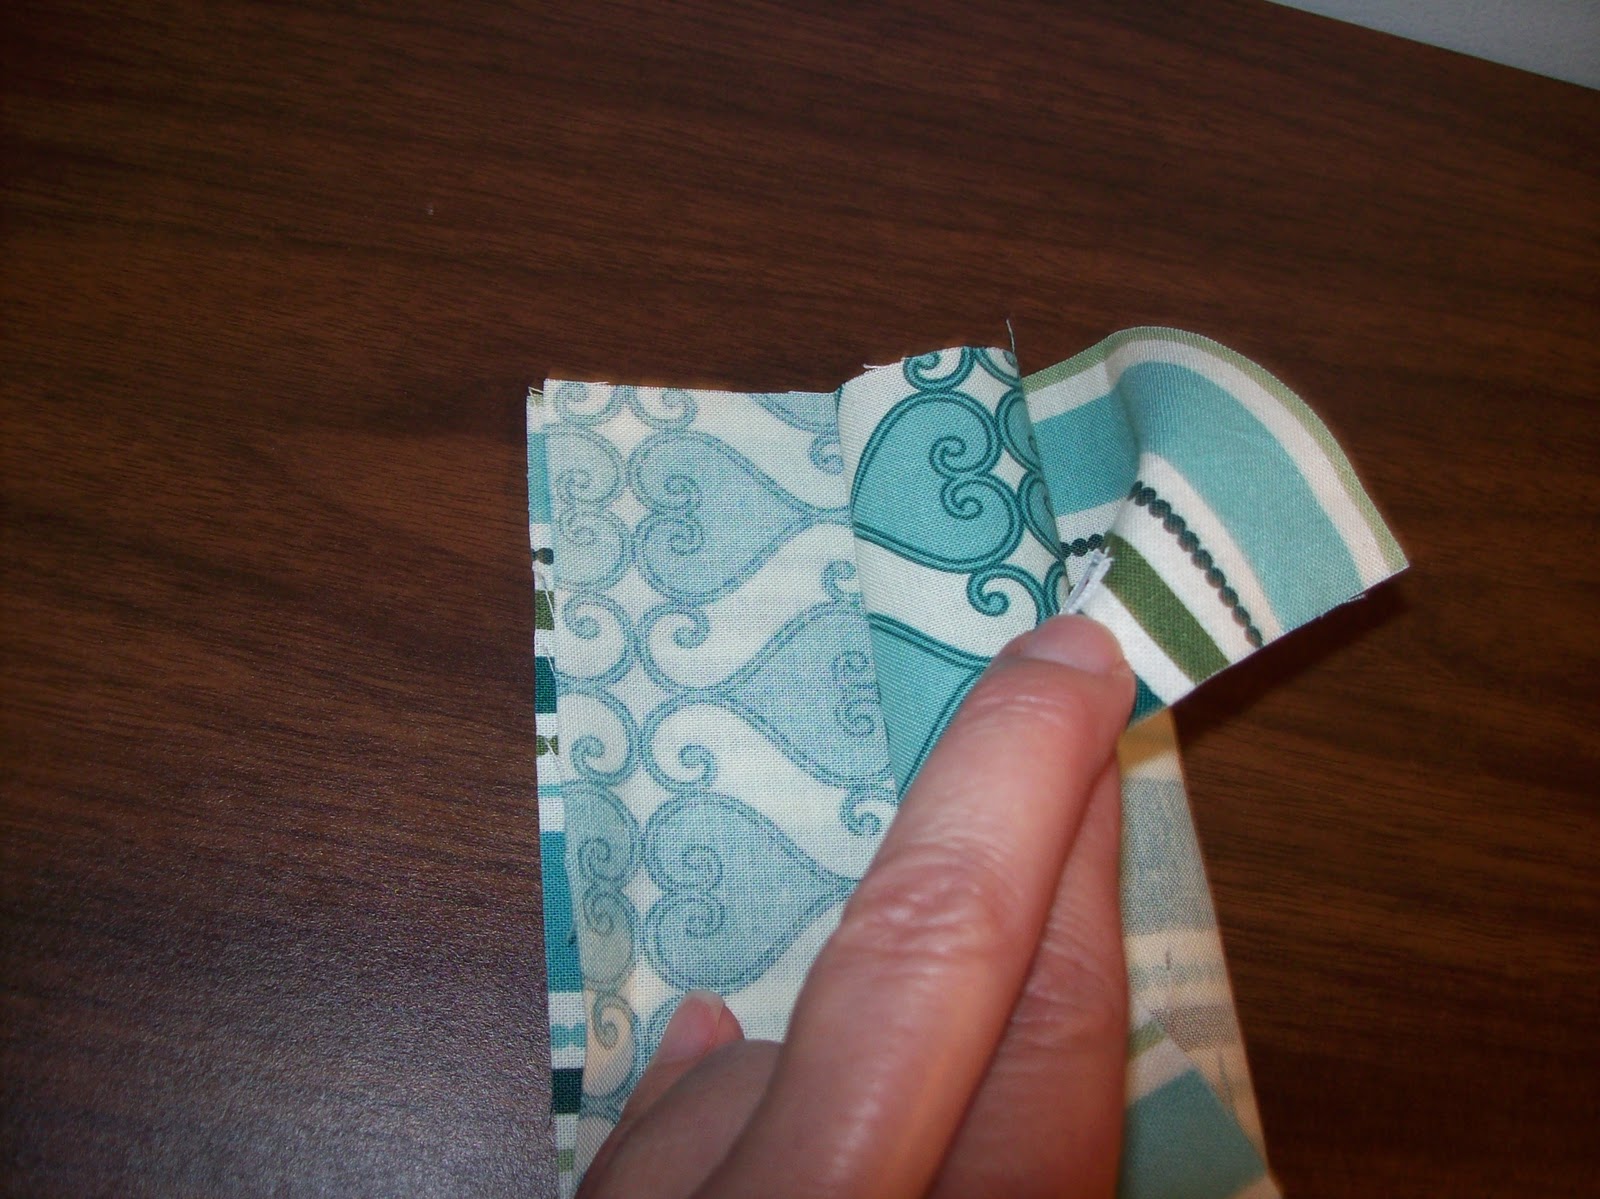 |
| I kind of roll up the top portion of the skirt and make sure that the top edge is out of the way |
4) Pin and stitch the three layers together. All seams are 1/2".


7) Now add ribbon and button trim. I did some above and some below the seam. I used two types of ribbon and various buttons making each side of the skirt different.


10) Now pin the last unfinished edges wrong sides together ( I did a french seam so that there would be no unfinished edges--feel free to sew and regular seam and serge it if you'd rather) Stitch a 1/4" seam.


5) Turn right side out

6) Press. It should now look like the picture below.

7) Now add ribbon and button trim. I did some above and some below the seam. I used two types of ribbon and various buttons making each side of the skirt different.


 |
| I used a Chenille needle to thread the ribbon through the buttons |
 |
| I stitched through the large buttons just to make them more secure |

8) Put the two pieces right sides together and stitch along the long unbanded edge.

9) Press the seam open.

10) Now pin the last unfinished edges wrong sides together ( I did a french seam so that there would be no unfinished edges--feel free to sew and regular seam and serge it if you'd rather) Stitch a 1/4" seam.

11) Trim the seam close to the stitching and press. Now turn right sides in and stitch another 1/4" seam. Press.

12) Fold in half and press well. Pin the top waist together.

13) Stitch 7/8" from the fold. Leave an inch opening.


14) Cut elastic waist measurement plus 1 inch. An thread it through the casing

15) Overlap the elastic ends and stitch together. Finish the skirt off by stitching the casing closed.


All done!!

Those are such cute girls and adorable skirts! I need to make Lilly one of those! Thanks for the tutorial!
ReplyDeleteLove it! You can use Lucy as a model anytime! :)
ReplyDeletevery cute!
ReplyDeleteBrilliant tutorial. Those little girls are just gorgeous! x
ReplyDeleteGreat web site. A lot of helpful information here. I'm sending it to several buddies ans also sharing in delicious. And of course, thanks on your sweat!
ReplyDeleteAlso visit my webpage http://www.vigrxenhancer.com